At present, we’re going to be diving into the world of blending vs mastering in 2024.
What’s the distinction between the 2? What are their similarities?
We’ll additionally contact on the variations in mindset between mixing vs mastering, and much more. So let’s get began.
Mixing vs Mastering: a Disclaimer
Mixing and mastering are two completely different processes which can be each elementary to ending a professional-sounding monitor.
However earlier than I proceed any additional, each mixing and mastering are wormhole matters. So we is not going to cowl each single element of every course of.
As an alternative, I’m going to be outlining every course of to provide you a stable understanding of why and the way we do every one.
If you wish to dive deeper, we’ve got detailed guides on mixing right here and on mastering right here.
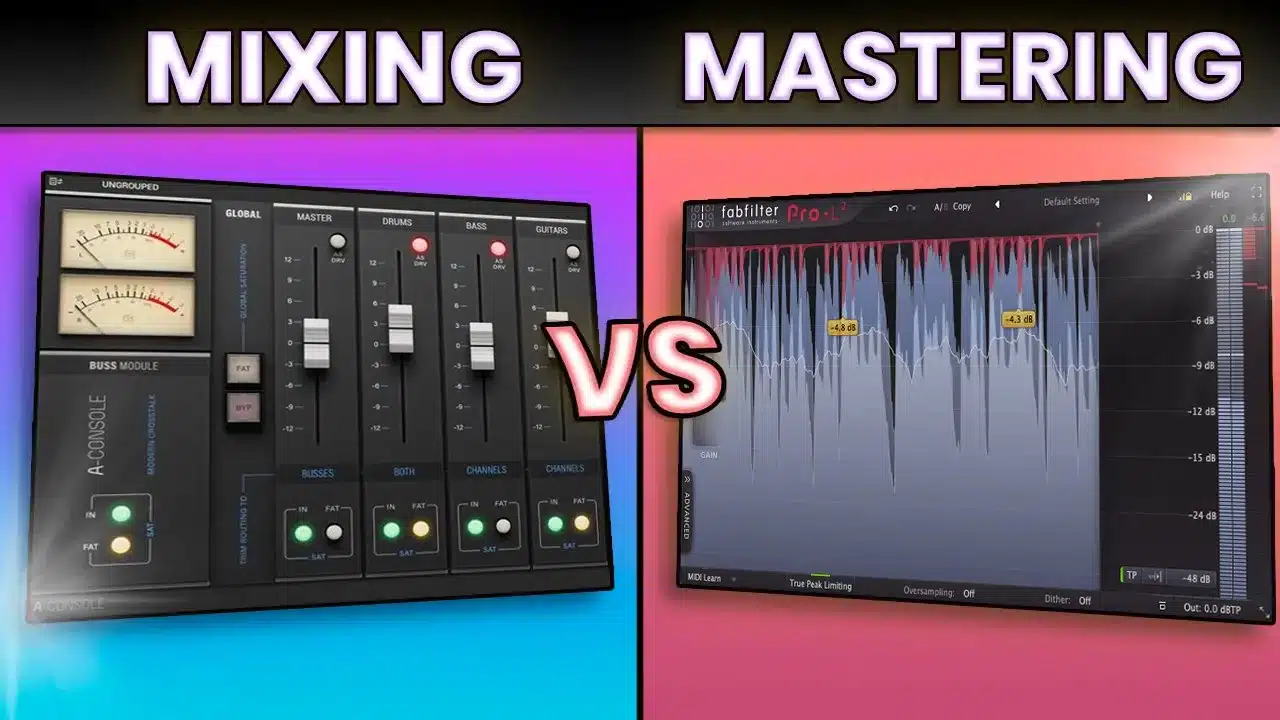
What’s Mixing?
Mixing is the method of adjusting all your tracks in order that all the things in your undertaking suits collectively.
Normally, the majority of the blending course of comes after the manufacturing section. Within the manufacturing section, you concentrate on sound design, concept technology, and association.
Nevertheless, throughout the mixing section, we’re basically switching our thought course of from designing and creating sounds to placing sounds collectively and making them gel cohesively.
Mixing all the time includes the three following elements:
- Quantity: is every monitor on the acceptable quantity?
- Frequency: is every monitor occupying the correct frequency spectrum? Do some frequencies must be eliminated or boosted?
- Panning: is every monitor occupying the correct place within the stereo discipline?
However as a substitute of interested by one specific sound, I’m interested by a number of sounds and the way they work together with one another. I’m checking the amount of 1 monitor relative to the others. I’m checking how frequencies overlap between tracks, and if that must be fastened.
That’s probably the most transient, but complete rationalization of what mixing is.
Wish to verify this information in video format? Head over to our YouTube channel 👇
What’s Mastering?
Mastering all the time occurs after the blending stage. Mastering is when the fine-tuning and last polish occurs.
The mastering stage goals to make sure that the ultimate product is pretty much as good as it may be. This implies it ought to sound good on any kind of speaker. It must also sound loud sufficient in comparison with different tracks in the identical style, and never have any pops or bizarre artifacts.
That is why it’s actually essential to have a last course of to iron out our monitor and make it pretty much as good as potential.
Mastering is normally completed on one, single stereo monitor exported out of your mixing session. There are exceptions, akin to stem mastering, however we received’t cowl these on this information. Widespread mastering steps embody:
Mixing vs Mastering: The Planes of House
Earlier than we go into any extra element, I need to speak about one thing known as “the planes of area”.
Mixing and mastering are once we begin to take into account the 3D area of our track. What this implies is that inside any track that you just take heed to, there are three planes of area:
- up-down;
- left-right;
- front-back.
“Up-down” refers back to the frequency spectrum. We’ve acquired excessive frequencies on the high and thru the mid-frequencies all the way down to the low frequencies.
Then we’ve got “left-right”, which refers to our stereo spectrum. Fairly self-explanatory: we’ve got a left channel for our left ear and a proper one for our proper ear. We then have mono within the middle, and the entire area in between.

Lastly, we’ve got our “front-back” aircraft of area. This refers back to the depth of our track. When one thing is actually up entrance, it’s going to be a most important core aspect of our monitor. This could possibly be a vocal for instance, or the kick and bass in Techno.
If we need to push one thing again within the combine, we normally flip it down in quantity. We would additionally add reverb and or add some filtering.
By combining these 3 planes of area, we will get every aspect of our track to suit the place it belongs, and work harmoniously with the opposite parts of our monitor.
Now let’s discover what mixing is in additional element.
Mixing in Extra Depth
Even if you happen to had no concept what mixing was earlier than studying this, chances are high you’ve already completed some mixing-related duties.
For those who’ve ever listened to a sound and thought: “That’s a bit bit too loud, I’m going to carry that down a bit bit”, that’s mixing.
It is a elementary idea known as “fader balancing” – and this is step one of our mixing course of. That is typically already completed throughout the writing course of. As you’re producing the track, you’re balancing your faders, pushing sure sounds up or down.
Nevertheless, I additionally personally actually like to do that abruptly once more after I’ve completed all the association. One trick many individuals use is to set all their faders to zero. You then enhance the amount of every monitor one after the other, beginning with a very powerful one (kick and snare for instance).
Bringing sounds from “quiet” to “loud” makes it simpler to listen to how all the things gels collectively quite than going from “loud” to “quiet”.
Do that the subsequent time you’re mixing your drums. Carry all of the tracks to zero. Then, begin together with your kick and produce it as much as a wholesome degree. Subsequent, carry up your snare till it sounds balanced together with your kick. Lastly, carry up your hats and percussive layers one after the other.
You are able to do the identical course of with the bass and all the opposite parts of your track. Beginning off with a very stable fader combine from the get-go is actually going to assist your mixdown.
Step 2 of the blending course of is eradicating any undesirable frequencies or artifacts. We do that utilizing our mixing utility instruments akin to EQs and compressors.

I’d undergo each single monitor and be sure that there’s an EQ on there. If it’s a high-end aspect, I’m eradicating low-end that I don’t want. The concept is to verify every monitor is confined to its particular frequency vary. That is the top-bottom aircraft of area.
Lastly, step 3 is considering the completely different planes of area and attempting to get all the things to suit collectively. That is additionally once we can get artistic and have a bit little bit of enjoyable with results.
At this stage, I could need to pan specific parts to the left or proper. Do I would like parts to be extra extensive or extra mono? Do I would like parts to be ahead within the combine or additional again? The aim is to make our combine sound cohesive.
Mastering in Extra Depth
In mastering, we’re working with an exported mixdown. This sometimes includes one monitor with two channels (left and proper).
At this stage, we’re merely attempting to get our track prepared for listening.
When exporting our combined monitor (known as “pre-master”), we must always depart sufficient headroom. That is the “room” left between the loudest a part of our track and the “0dB” mark. With out sufficient headroom, our monitor might be digitally clipped (which we need to keep away from).
In mastering, the largest change that’s taking place is bringing the amount of your monitor up. We need to do that with a “limiter” as a result of a limiter will enhance the amount with out introducing distortion.
We’re additionally fixing any technical small issues which may have occurred. The mastering stage could be very technical and complex, however I’m going to provide you a simplified 3-step course of.
Glue compression
Step one of this 3-step course of is to load a Glue Compressor onto our grasp. This can add some gentle compression to catch a number of the peaks in our monitor. I’m going to undergo my undertaking, and produce down the brink, and I need to see the needle leaping just a bit bit. Within the vary of about zero to 4 decibels is about proper.
We’re basically attempting to melt our monitor earlier than it goes right into a limiter so the limiter doesn’t need to work as onerous to compress our monitor.
For those who don’t have a limiter, you need to use the Ableton built-in limiter. However I’d personally suggest getting a third-party limiter such because the Fabfilter Pro L2. In any case, carry the brink down till you get the monitor as loud as potential with out listening to any distortion or bizarre pumping.

The third step is metering. For this, you need to use Youlean Loudness Meter, which is a free plugin.
What we’re aiming for right here is round about -9 LUFS Built-in. For those who don’t know what LUFS is, ensure that to take a look at our information right here. This quantity can differ based mostly on the style of music you produce and the streaming service, so ensure that to check the guidelines online.
Be aware {that a} mastering engineer goes to do much more than simply this 3-step course of. There’s a complete suite of different issues like multiband compression, stereo imaging, saturation, and so on. that always go into the mastering course of. However this 3-step course of ought to get you began.
A Fast Recap on Mixing vs Mastering
That’s a wrap for this information. Hopefully, you now have a very good overview of the variations between mixing and mastering.
In a nutshell, mixing includes adjusting particular person tracks inside a track: vocals, drums, bass, and so on. The aim is to stability their ranges, panning, EQ, and extra to create a cohesive sound. Mastering, then again, is the ultimate step that enhances the general combine by making use of EQ, compression, and limiting. The aim is to make sure the monitor sounds constant and optimized throughout all playback methods.
Did we miss out on something? Something unclear? Be happy to drop us a line over at [email protected]